The new math...

Saturday, July 20, 2013 No comments

Hello everyone!
This week has been chaotic. My best friend just found out she is having a boy!! {Yippee!} I have been in trainings ALL week long for Common Core. Can I just say...my brain hurts. It is so interesting watching this and seeing how the school district evolves through this new process. 
One of the things that is changing is our math block. However, we are not being instructed how to change it. Of course, I get on my handy dandy Pinterest and pin dozens of things for math. Which leads me to where I am going with my math curriculum. Our math block is one hour long. Below is how the math block will look in the future. {Keep in mind...I am lucky to have an hour math block. If you do not have an hour math block~ then adjust to your schedule} We are going to say my math block starts at 9.

9:00-9:05/9:10~ Review homework. {I always check the previous nights homework. This is what I review so I can fix any mistakes. Sometimes I would partner the students who didn't get it with the ones who did}
9:10-9:30~ I make sure I don't get past 10 minutes of review because then the students start to play and I lose my math time. I call the students to the carpet. We do a mini-lesson. This is the lesson from the book but I modify it because I don't always LOVE our book.
9:30-10:00- We do BUILD. Now....you are probably thinking..."Ronnie- I have only seen BUILD in the primary. " Well due to Copyright laws with BUILD, I changed it a little to BUILT. 

I knew you would be curious of how I made BUILT, so I will show you.

B~ Buddy Games - I currently have about 44 games. Some that I made, and some that I found on Pinterest or TeachersPayTeachers. Below are some pictures of what my Buddy Games center looks like. 
This picture is the crate of the files for the games. I have about 30 games in here right now. The folders in the picture on the right is ~ the folders that have to either be laminated or need to be cut after being laminated. {I try not to laminate 20 times a week or cut 20 times a week. I sit down at once and do all the laminating and cutting at once.} Each tab is a chapter. I made the games {With the rules} inside each folder. 


This is what is inside each folder. I label it as variable and I put a B in the right corner, so when the students return it, they know it goes in the green crate. In the bottom left  of the folder it says Chapter 3. I wrote this on there for two reasons. 1- So I can remember where it goes 2- so the kids can put it in the correct spot.
U~ Understanding Technology. Now- this is not just putting them on the computer. This is using the applications that are on the computer. I have quite a bit of things that I allow the students to use. The first thing they MUST do is FasttMath. This is another way for them to get better at their math skills. They do this twice a week. The person with the most gains wins the Math Award for the week.  One of the biggest ones will be a re-teach lesson from a previous test. We use the GoMath series and they use amazing ways to reteach the lesson. Sometimes I will allow the kids to go on RiverDeep but that is a rare occasion.
I ~Independent Work ~ This is like BUILD. The kids will have a math worksheet that is similar to what they are working on or a previous skill.
L ~ Learning to solve problems~ This is one that does not go with the original Build. This is going to be in their math journals. I take spiral notebooks and cut them in half. I have an extra table in my room and that is the "Problem Solving Table" The kids go there and pick up a problem solving card. Not one that they have previously done. Then they copy it into their notebook. They will then pass their notebooks around to group mates and their group mates will check each others work.
T ~ "Teacher assistance/help" ~ This one is when the students come to me. I had to incorporate this in because then I will forget who comes to me.


This is how I will see my groups. We will be doing 2 rotations a day. Now, What I like about this, I can change this whenever I need to. I actually put this in a Powerpoint and with that I can adjust it however I want. 

If you want any of my games then you can see my games at TeachersPayTeachers.

Happy Shopping and Happy Pinning!! xoxo

HomeworkLand

Tuesday, July 2, 2013 No comments

As you know, my theme for this year is CandyLand. I found SOOOO many ideas for homework for this year. One of them was the version of Monopoly's homework. Well, I don't like Monopoly. Not that it is a bad game...no. I just simply don't understand it. I feel like it is such an intense game and hard to understand that I just gave up. I will simply blame this on my mothers ability to scare me away from any board game with her amazing mathematical skills. {She's a CPA}.

I decided to take a different turn with my classroom. I loved the idea of having a board game in the classroom. I thought...and I thought...and I thought some more. How can I put a homework game in my classroom WITHOUT using Monopoly AND incorporating candy into it?

Lo and behold~ while I was driving...okay my fiance was driving- I told him to go to the educational store. Lucky for me, he loves the store. I think he secretly thinks he was a kid again so he could finger paint. So we were at my local educational store {Ace Educational}, and I bought pieces for CandyLand. I bought a {science fair} trifold. We threw them into the trunk and had to wait until we got home before we could play with it.

I came home {3 hours later ~ the wait was EXCRUCIATING} and I popped all the pieces out and had Wesley help me lay it out. We had all of the pieces everywhere! Penelope {our 1 year old Yorkie} was trying to grab them. I am chasing her, Wesley is holding the board, and she's sliding on the board like she's going to home base.It was a comic act {haha} but we got the pieces down.
This is the board that I made. I wanted pink because I feel like pink is a candy color. Some of the pieces have words on them. Some say no homework, free gum-ball {yes...I have a gumball machine in my classroom~ I will get to that later}, no shoes in the classroom, sit where you want. I tried  to do it every 6 pieces so that the kids had a constant goal in their mind.  

These show you the pieces of the CandyLand that I made {yes, made} and printed on white cardstock. The reason why I printed these, was because I made several games using CandyLand and I did not want to keep buying new pieces.

These will be the students pieces. I will cut them {when I have time ~ like on a plane} and since they are laminated, I may be able to use these next year. 

i hope you enjoy this as much I enjoyed making this!

Happy shopping and Happy Pinning!

BINGO!

Wednesday, June 19, 2013 No comments

I have this tendency when I am in a BINGO hall to literally scream BINGO. Whenever I win, I SCREAM because I am sooooo excited. My mom takes me to her ABWA events and if I win during her raffles, I also scream. With that being said...I am giving your students a chance to scream BINGO in my new BINGO Place Value game.  I am placing this on my TpT board. It is currently on sale for $2.00! Go get it while it's on sale! 


Stay tuned for more Bingo Boards and CandyLand games coming at you!

Happy shopping & happy pinning!

Beginning of CandyLand

Wednesday, June 12, 2013 No comments

 Goodness...Gracious. I believe I mentioned in my last blog that my theme for next year is CandyLand. If I didn't...guess what!!!

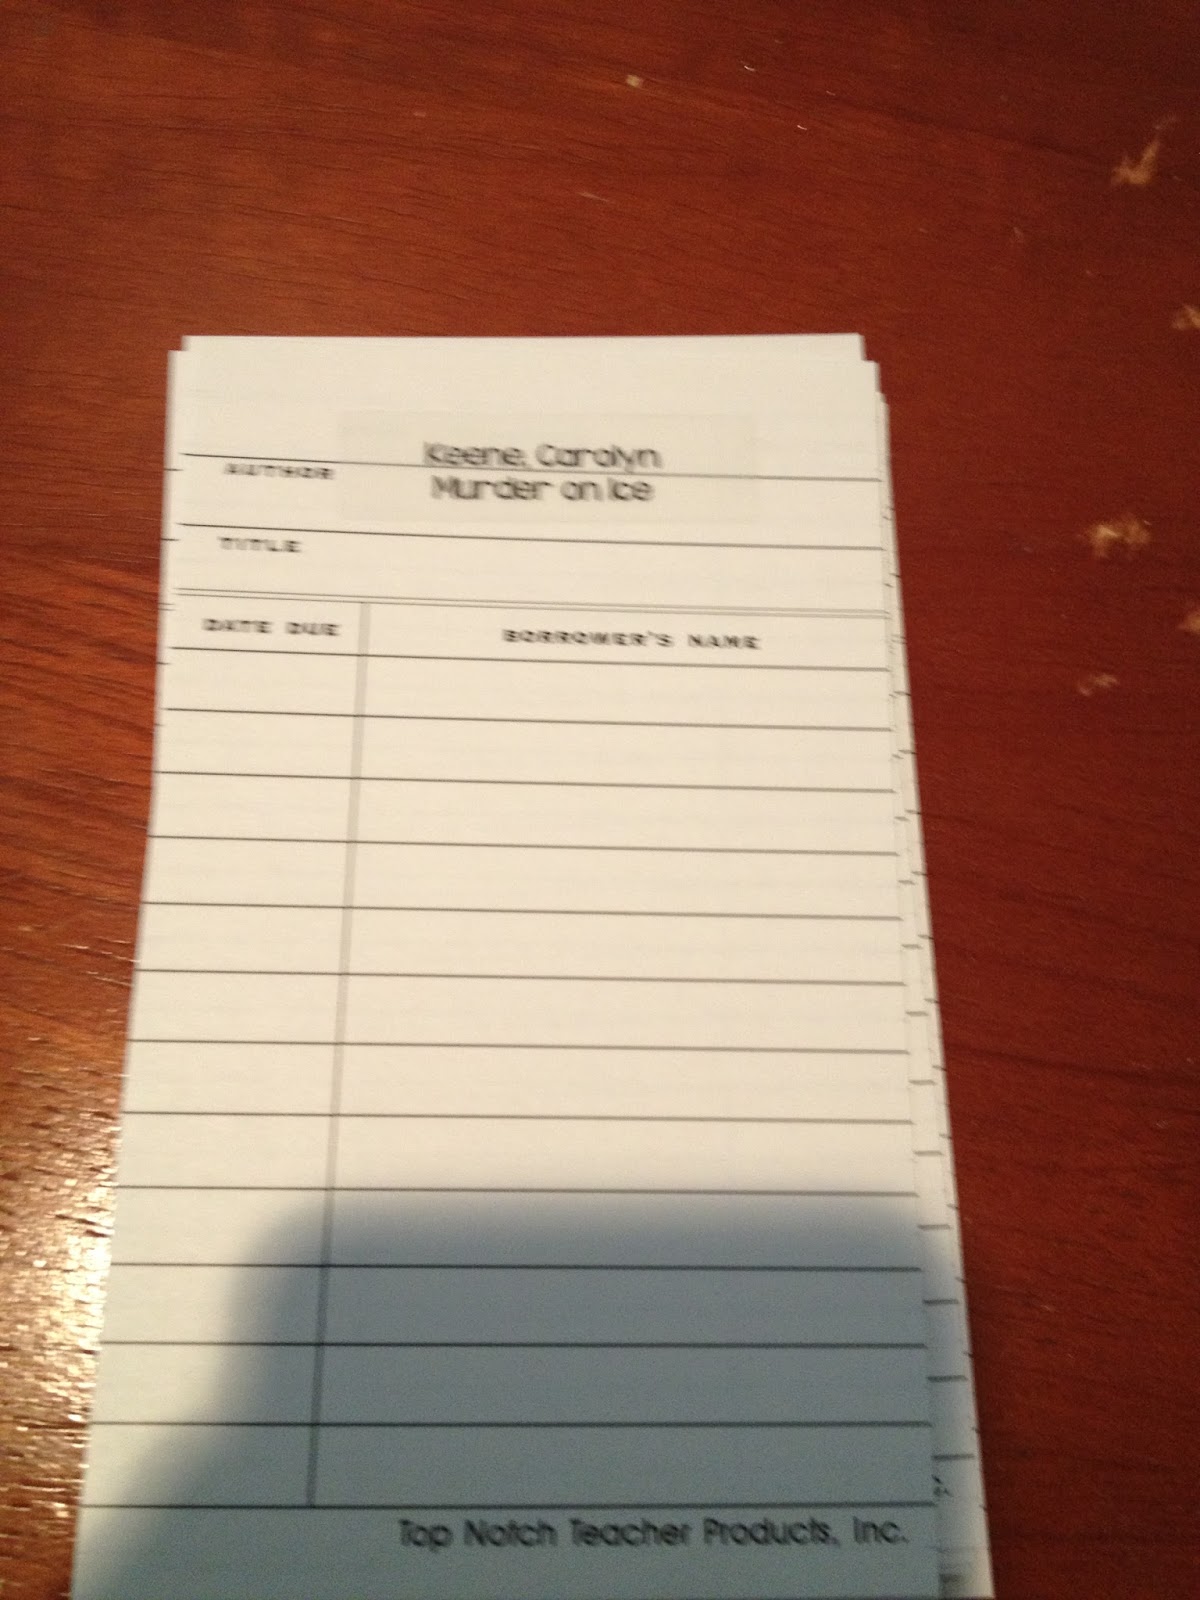
With you keeping that in your head, I am going to show you my newest masterpiece. Last year when I got my first classroom, I knew that I was going to have to label my books by level. I actually decided to join www.Classroom.booksource.com for a place to store my books. Over the year, while I was growing my library, I put ALL of the books on this website. It is great! I kept all of my books on this website {over 500}. As i was wrapping up my year, I discovered during the clean up process, that about 15 books are missing. I was so bummed because I spent my hard earned money on that. Thank you for letting me vent {hehe}. I pressed the export button to excel and exported it to my computer. I then downloaded a label template from Avery.com and I bought the CLEAR labels. I had to move over the author and the title to the template. I won't lie...it was exhausting.  It's so repetitive so I was practically falling asleep! I then took the stickers off and placed them on the library cards. I am sure you can get them from Amazon, I, however, went to Ace Educational to buy them. 
I then created little tags as seen below. This was used so when I put them in a card catalog bin, I could sort it out through all of the letters.


 I made this box {of course with some type of candy}. I actually used a Kleenex box. Last month I had a major sinus infection which left me with many different empty boxes of Kleenex. My poor fiancĂ© kept saying through the boxes away! I of course refused, because i knew I would be able to do something with the empty boxes. of course I MADE SOMETHING!!!! I made the box, which is below here. I then inputted the cards {as seen below} and then I put in their tags. I am quite proud of the beginning stages of the library system.


The two following pictures are the same. i just think it is really funny that Penelope stuck her face into the picture. I made this so when the students are checking out a reading book, they will be able to put the library cards {that I just made} and they can put the cards in the little pocket. For being Day 3 of summer vacation, I have already done SOOOOOOO MUCH!!!

This is just a fun thing I made. My fiancĂ© and I have a lot of jokes. One of the biggest ones is who I become when I am hungry...or angry. We both say that i become a baby hulk {i'm very short-hence the baby}. Now, whenever I see a hulk mask, I HAVE to put it on and say "RONNIE SMASH!!!" 
 I made this little guy using a candle cover from an old candle from Bath & Body Works. I downloaded these cute guys from etsy and printed them out & laminated. I then placed it on the candle cover and glued ribbon to the back After I go to Home Depot, I will buy a clip that can hold this on this dishwasher. Once it is done, Wesley will be able to put his own dishes away because he can see if the dishes are clean or dirty. Sometimes I am so smart...it's scary.


 I hope you had fun with this great invention! Happy Shopping & Happy Pinning!

Summer Break

Monday, June 10, 2013 No comments
It is my first day of summer break {woohoo}!!! Holy Kleenex, Batman! It has been a fun weekend. This weekend started some really fun adventures with Jessica. We started off making many different things. The first thing we made was for the Bridal Shower. It is a "box" and I say that loosely because it is made to be like a box, however, it surely does not look like a box.
The above picture is the dress. I made this using my brand new Cricut! I still have my basic cricut but I wanted a BIGGER one! {I'm not spoiled...well-maybe a little!} I made this using the "Tags, Bags, Boxes & more". I made it as big as I could. Then I took the Spellbinder and used swirls to emboss it. I folded it per the directions and placed the following picture in the "box."
The following picture is my new pair of shoes to wear for Jessica's wedding. Sigh....aren't they gorgeous?


The explanation behind this picture is... we had rain for 12 days straight. I wanted something that would protect me from the rain.

 The following is the beginning of something beautiful. I used the hydrangea punch form Martha Stewart. I used the pins from the wedding section in Michaels which happen to be Jessica's colors. We made this using styrofoam balls. When it comes to Holiday time, I will place these in my classroom for a "wintery" effect.


 My theme for next year is CANDYLAND!!!! Let me tell you how EXCITED I AM!!! I LOVE CANDY. I am always eating candy because it is so good. I decided that this year will be all about CandyLand! I included some different pictures of what I will be using in my classroom. 


Stay tuned for much much more information about this theme!